Saturday, 29 December 2018

Eileen Hull Favourite Projects 2018

O my goodness how on earth do I choose....................


 I love the colours of Eileen's collection of Color Box Blends, they are such pretty colours. I've used a mixture of the Journaling card dies, the Hearts and also the Flowers and Leaves. Both are great sets and also make fab stencils.


OK, so this is a little naughty.............I love this little Winter journal made for the Craft Stamper magazine January 2018 issue using the Passport Book Die


 And of course I had to have a Wrapped Journal and I love Jane Davenport supplies, so this deli paper is the perfect way to cover any of the journals quickly, and easily.


 The man in my life collects vintage clocking in machines, and yes this on is on the dining room wall. I created a holder to contain all the loose clocking in cards using the Card Organiser Die


And last but not least I love this journal using the Journal Die and lots of gorgeous papers from Canvas Corp Brands.

So there you have it, five of my favourite projects using Eileen's amazing dies.
Happy Crafting.
Elizabeth x

Eileen Hull Fan Group on Facebook
Eileen Hull Etsy Shop

Friday, 7 December 2018

Day Five of Mama Makes Christmas


Welcome to Day Five of my Mama Makes Christmas series. Today I'm sharing hugs...............after all what would Christmas be without them


I built up my design with the large hugs stamp, and also a few smaller stamps of hearts and stars to take the design out further. I also added a couple of hand drawn elements as well.


Then back to the fabulous new shades of water colour, I love how bright these are, so cool.


Did I mention Metallic watercolours...............................ooo well....check out the beautiful soft gold when combined with the neon pink....... When dry I doodled with my Pigma Micron pen, well by now you know that it's my thing, and how I finish off nearly all of my projects.


Thank you for stopping by and I hope you've enjoyed this little series of Mama Makes Christmas.

Happy Crafting.
Elizabeth x

The Craft Stamper Magazine Take It Make It Challenge - December 2018


It's the launch day of our new challenge for December over at the Craft Stamper Blog 
where we would love you to share your projects using stamps on them. I've been having fun with my stamps from Mama Makes, creating winter scenes. As always we have a fabulous prize up for grabs along with the chance of being in the magazine it's self, and how cool is that!

Our prize this month is a fantastic bundle from Altenew, so get stamping and join in the fun.


Happy Crafting
Elizabeth x

Thursday, 6 December 2018

Day Four of Mama Makes Christmas


Today it's Turkey time!


I stamped out the Turkey in Onyx Black Versafine ink, along with the sentiment and holly leaves at intervals around the edge of the card. Using a black Micron pen I joined the pieces of Holly together with the line under the sentiment to create a frame. I made sure it was completely dry before colouring the holly leaves and berries with Prisma Coloured Pencils. These when water colour is used over the top create a resist, so it's a great way of colouring in small area's that you don't want the water colour to bleed out from.


I used a frosty icy shade of blue to the outer edge of the frame, and started to build up the colour on the Turkey, again I've only used four shades of water colour, that wasn't planned, just a coincidence. I used blue, orange and two shades of brown. I used pencil to colour the hat and to finish of I added an extra line around the border and dots of pen, to tye in with the dots on the sentiment stamp.


Thank you for stopping by today, and I hope you can pop back for Day Five of my Mama Makes Christmas week.

Happy Crafting.
Elizabeth x

Wednesday, 5 December 2018

Day Three of Mama Makes Christmas


Welcome to Day Three of my Festive week of Mama Makes Christmas. All week I'll be sharing lots of the fabulous Christmas designs from Loti, you can find the Christmas section of her shop HERE


The stamps are fabulous to use, and give a crisp impression every time.  I love the expression on the face of the Deer, he's such a happy chap.


 I added a co-ordinating sentiment, again using Onyx Black Versafine and made sure the ink was totally dry before starting to add the watercolours.


I like to add a wash of watercolour around the edge of a project, drying it and then doodling a border over the top using a Black Micron pen. It really finishes a project off, and of course I have to add dots in groups of three's.


Thank you for visiting and I hope you pop back in the morning for Day Four of my Christmas week with Mama Makes.

Happy Crafting.
Elizabeth x

Tuesday, 4 December 2018

Day Two of Mama Makes Christmas


Welcome to Day Two of Mama Makes Christmas. How cute is little fella, you can find him in the Christmas section HERE in Loti's shop.


Again I've used Onyx Black Versafine to stamp and build up the picture with. The quality of these stamps is second to none, they give s crisp impression every time.


I stamped out a row of baubles along the top of the card, staggering the heights, and angles. Then using my Black Micron PN pen I drew in a curvy line for them to hang from.


Then I chose some of the gorgeous new shades of water colour, from the Sakura Studio Set, o boy are these vivid and loaded with pigment.


I love the way the bright colours give a funky look to a project, and again I've only used four colours, two shades of pink, purple and a bright yellow/

Thank you for taking the time to visit and I hope you can join me for Day Three tomorrow.

Happy Crafting.
Elizabeth x

Monday, 3 December 2018

Day One of Mama Makes Christmas


All this week I'll be sharing Christmas cards created with Mama Makes fab Christmas stamps. I've stamped all the images using Onyx Black Versafine ink onto watercolour card, as I planned to use my yummy new Sakura Studio watercolour set. The stamps give a really crisp and clean impression. I just love this Robin!


I swapped between three sets of Christmas stamps, they all mix and match together perfectly, so you can build up your collection knowing they will work together. I chose a sentiment and also a heart stamp, to build up my design.


Next it was onto my favourite part, the watercolours.....


I love the effects you can create with watercolours, they are so versatile, and you only need to use a couple of colours to create a great effect. I've only used two shades of brown, red and a light orange to add colour.


I added a light wash of an orange shade, to tone in with the colours chosen for the Robin.


To finish off I added a scribble border around the edge of the card, a few dots and squiggly lines to attach the hearts to the border above.


There you have Day One of Mama Makes Christmas, hope you can pop back tomorrow for Day Two.

Happy Crafting
Elizabeth x

Monday, 26 November 2018

Compose Your Life Journal Cover - Part Two


So now the outer cover of the journal is finished, it's time to move onto the inside. First of all I chose some green elastic that was a close colour match to the cover. I use a 3mm diameter elastic, but there are lots of other things you can use, like twine or ribbon.


I undid the top of the Golden Lime Glimmer Mist and flicked the gorgeous mist on to the cover, working quickly I used a dry flat paintbrush to drag the colour out, I love the pattern this creates.


This is one of the new shades of Glimmer Mist, it's so pretty and a perfect match for this paper collection.


Then onto choosing the papers for the signatures. I chose three of the patterned card stock from the 8" paper pack, and then a selection of co-ordination papers, along with one more sheet of patterned paper from the pack.


Working with one signature at a time, I folded all of the papers, along with the patterned card, which was placed to become the outer cover. I trimmed everything down to a size of 8" wide by 7 3/4" high. And made sure all the pages were level.


Next I opened up the signature, and I like to use a couple of household pegs to keep the pages in place, whilst I poke the holes through and sew the papers together. It makes things so much easier if the pages aren't moving around. I use a waxed linen thread as it;s nice and strong, and once it's tied it won't come undone.


These are just going to be little note books, so I haven't decorated the inside of them, as I'll probably use them for making list's of jobs that need doing. I love making lists, and crossing off the jobs as they are done, it's so satisfying.


So my three beautiful signatures just slip into the journal, with the elastic holding them in place. For a little decoration on the inner cover, and of course it's practical to have a place to slip in some gorgeous paper clip page markers, all made from the flowers that were cut out from the 12x12" sheet. I used one of Eileen Hull's very clever dies, the Credit Card Die, it creates a journaling card, and also comes with a another little die that sits inside, to cut out the scalloped slits to pop your extras in.


I added a sentiment cut from one of the sheets in the paper collection, and now my journal is ready to be used.


Happy Crafting.
Elizabeth x

Thursday, 22 November 2018

Winter Wishes Blog Hop with Emerald Creek


Today Emerald Creek Craft Supplies and Eileen Hull are collaborating to bring you the Winter Wishes Blog Hop featuring lots of holiday inspiration!


Warm thoughts are unfolding, 

as we begin to enter a festive time of year. Eileen, Kim and The Teams have created a fun blog hop challenge to kick of the American Thanksgiving and Winter festivities.
To play along all you need to do is follow along and comment on every blog. If you play along and link up your own creation using Eileen and Emerald Creek products, you will get 2 bonus entries for the draw. Contest Closes on Sunday November 25th, with the Winner announced Cyber Monday!
Prize includes an Eileen Hull Wrap Journal Die and a $50.00 gift certificate to the Emerald Creek Shop.

Kim Evans


Using Eileen's range of Clearsnap inks, I stamped the Holly all around the edge of a 5 3/4" square piece of card, in Hydrangea.


Then I inked around the edge to create a frame using Uniform.


I stamped out the gorgeous Polar Bear onto a piece of white card that was 5"x2 1/2" using Onyx Black Versafine, and then tore strips of card to create the snowy scene, and bring the picture to a 5" square. Using a paper distresser, I distressed all the edges, with the exception of the snow layers that would be hidden.


I inked around the edges of the snow with the same two shades of ink, and adhered all the pieces to the Holly background.


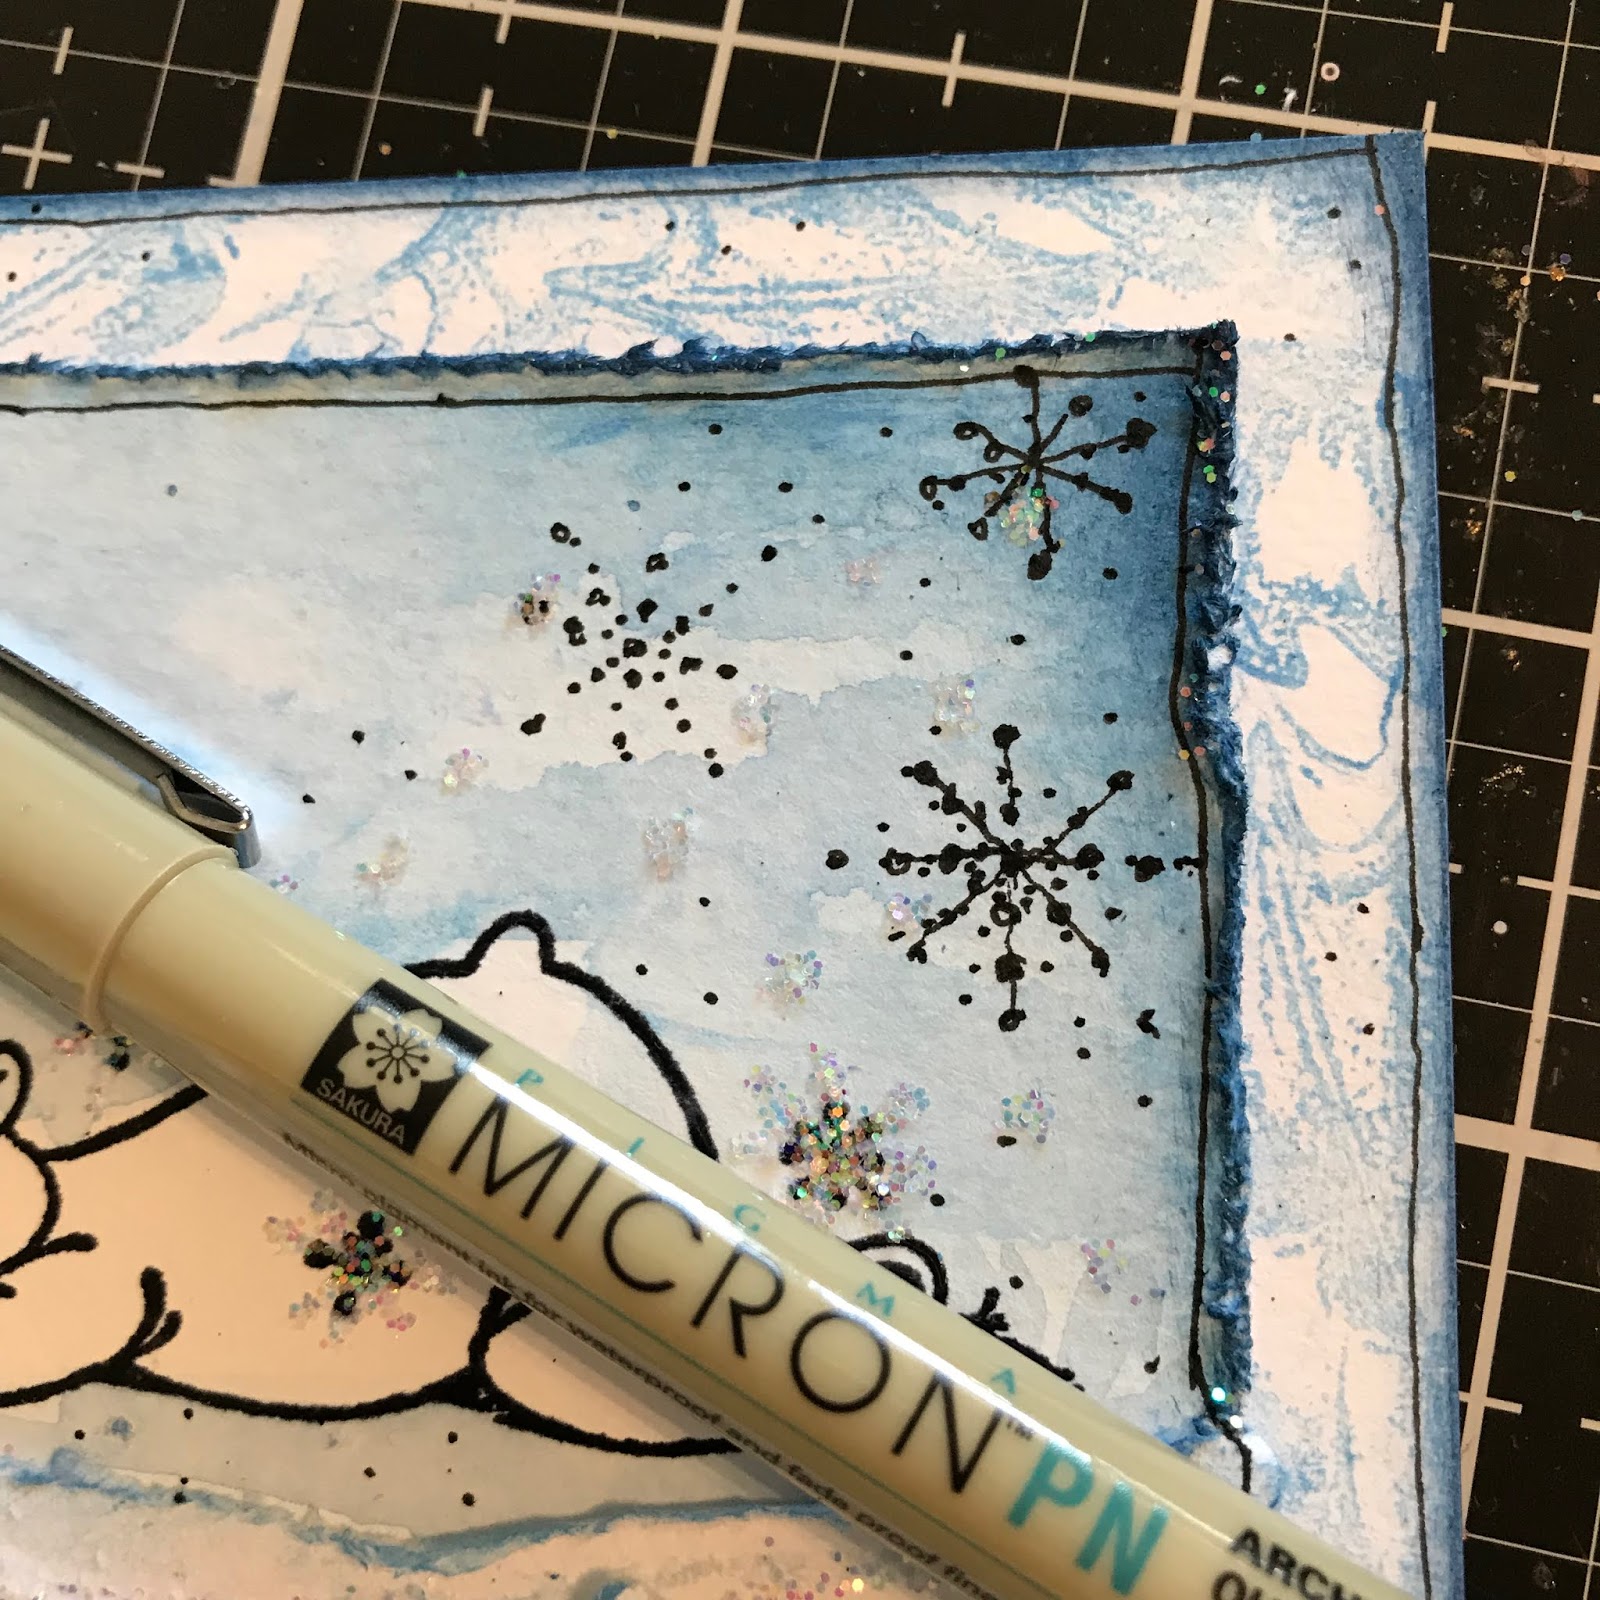
I added a little of both shades of ink to my craft mat, added a little water, and painted in the sky. I took a piece of kitchen roll and dabbed the wet ink to remove some, and create snow filled clouds.


I added glistening snow with extra fine iridescent glitter and my Quickie Glue Pen. I also dotted snow around the sky and snowflakes as well.


Then with my Black Micron PN pen I added a few extra snow flakes, dots and a squiggly border around both layers.


I stamped out the Warmest Wishes sentiment onto a scrap piece of card, cut it out, and inked around the edges with Hydrangea ink.


To finish off I added the layers onto a 6" square white card blank.

This was such a fun project to do, and a great way of using up a few of those scrap pieces of card.

Thanks so much for visiting here,  don't forget to leave me a comment and visit the other blogs in the Hop, and leave them a comment to be in with a chance of winning a prize.

Good Luck
Elizabeth x