Tuesday 18 August 2020

Eileen Hull Inspiration Team - Junk Journal


https://elizabethr-thecraftyrobin.blogspot.com/2020/08/eileen-hull-inspiration-team-junk.html

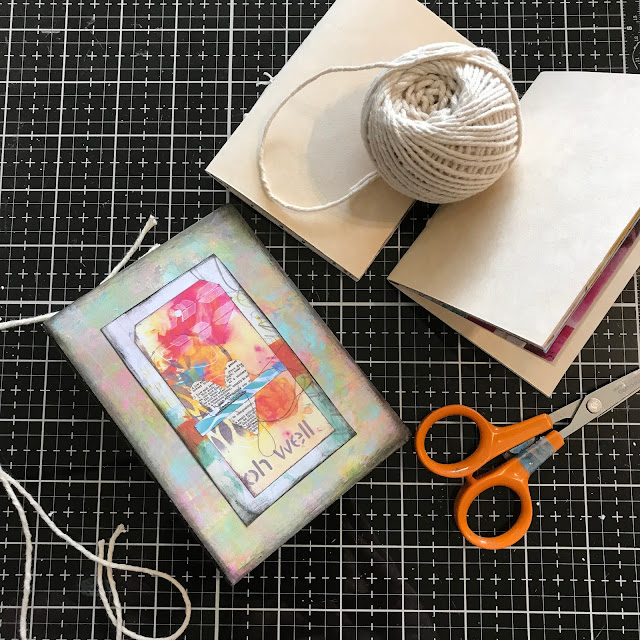
So excite to be sharing my "Oh Well" junk journal with you today. I think those words sum up exactly how chilled out I am at the moment!

https://elizabethr-thecraftyrobin.blogspot.com/2020/08/eileen-hull-inspiration-team-junk.html

I few weeks ago I was playing with my Gel Press Plate and decided to do a Notebook cover. Love the way it turned out with all my favourite colours smooshed together.

https://elizabethr-thecraftyrobin.blogspot.com/2020/08/eileen-hull-inspiration-team-junk.html

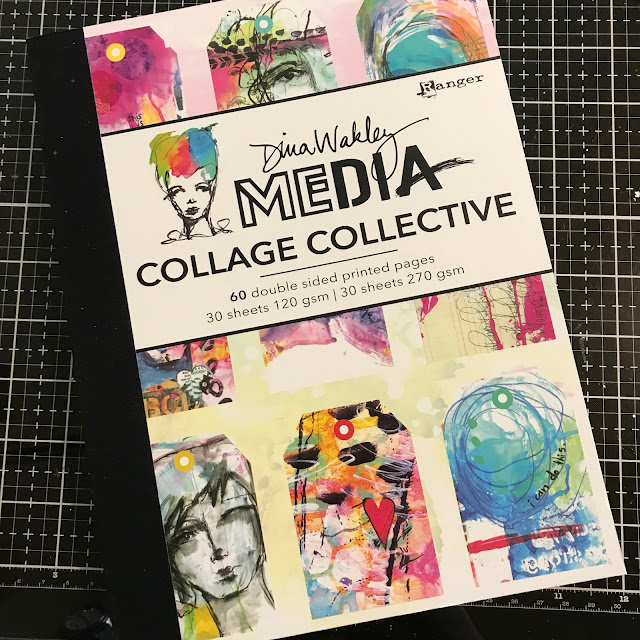
I decided to create inserts using some sheets from Dina Wakley's gorgeous collage papers, along with some papers left over from our wedding stationery.

https://elizabethr-thecraftyrobin.blogspot.com/2020/08/eileen-hull-inspiration-team-junk.html

I cut out one of the designs from the papers and inked around the edges to use as a focal point on the front cover.

I also inked around the edge of the Notebook using Eileen's Ebony ink.

https://elizabethr-thecraftyrobin.blogspot.com/2020/08/eileen-hull-inspiration-team-junk.html

I cut up my chosen sheets of paper roughly, I like to trim them to size once the have been stitched so they are all the same. I alternate the plain papers sandwiching the patterned ones inbetween, that way there are some black pages in case I decide to add writing to them.

https://elizabethr-thecraftyrobin.blogspot.com/2020/08/eileen-hull-inspiration-team-junk.html

I used good old fashioned clothes pegs to hold the signatures in place whilst I pierced holes in the spines and did a basic phamphlet stitch using waxed linen thread to hold them together. Then I trimmed them down to 3 1/4 by 4 1/2 folded size using a metal edged ruler and craft knife.

https://elizabethr-thecraftyrobin.blogspot.com/2020/08/eileen-hull-inspiration-team-junk.html

Inside the cover I used one of Dina's sentiments, very apt I thought!

https://elizabethr-thecraftyrobin.blogspot.com/2020/08/eileen-hull-inspiration-team-junk.html
 
And to keep the organic arty feel to the signatures I tied them into the spine using soft cotton string.

https://elizabethr-thecraftyrobin.blogspot.com/2020/08/eileen-hull-inspiration-team-junk.html


Happy Crafting

Elizabeth x


Eileen's Fan Group on Facebook

Eileen Hull Etsy Shop 

Eileen Hull Designs

Saturday 8 August 2020

Imagination Crafts USB 2 - Enchanted


https://elizabethr-thecraftyrobin.blogspot.com/2020/08/imagination-crafts-usb-2-enchanted.html

Print off two sheets of the Enchanted rice paper. Using a paint brush wet around the edge of one sheet, and gently tear it away. Adhere to the centre of the canvas.

https://elizabethr-thecraftyrobin.blogspot.com/2020/08/imagination-crafts-usb-2-enchanted.html

Dry brush using white gesso and dry. Dilute some of the purple paint to create a wash, and add colour to the butterflies and foliage.

https://elizabethr-thecraftyrobin.blogspot.com/2020/08/imagination-crafts-usb-2-enchanted.html

I used a pencil to dry in the Butterfly wings to go over the edge of the rice paper. Splatter the remains of the dilute purple all over the canvas.

https://elizabethr-thecraftyrobin.blogspot.com/2020/08/imagination-crafts-usb-2-enchanted.html

Next add shading around the outer edge of the rice paper to create shadow and an aged effect. Blend this outwards for a vintage feel. Repeat until you are happy with the depth of shade.

https://elizabethr-thecraftyrobin.blogspot.com/2020/08/imagination-crafts-usb-2-enchanted.html

Dilute some gold wax and add to the Butterfly wings and cobweb.

https://elizabethr-thecraftyrobin.blogspot.com/2020/08/imagination-crafts-usb-2-enchanted.html

Add gold wax splatters to the canvas to add subtle fairy lights.

https://elizabethr-thecraftyrobin.blogspot.com/2020/08/imagination-crafts-usb-2-enchanted.html

Adhere the other three Butterflies from the second rice paper to a piece of waste plastic packaging using the fabric decoupage glue. Add a layer of diluted purple paint to the inner wings and let dry.

https://elizabethr-thecraftyrobin.blogspot.com/2020/08/imagination-crafts-usb-2-enchanted.html

Once dry carefully cut out the wings and add a little gold wax around the edges before adhering them with foam pads to the canvas.

https://elizabethr-thecraftyrobin.blogspot.com/2020/08/imagination-crafts-usb-2-enchanted.html


Happy Crafting.
Elizabeth x

Imagination Crafts USB 2 - Destiny


https://elizabethr-thecraftyrobin.blogspot.com

Print off two copies of the Hare Rice Paper. Using a damp paintbrush  take the Hare out completely and split the paper into two pieces. Adhere to opposite corners.

https://elizabethr-thecraftyrobin.blogspot.com

Start building up the colour by first stippling orange acrylic paint.

https://elizabethr-thecraftyrobin.blogspot.com

Stipple the next layer using Sedona, leaving a little orange peeping through.

https://elizabethr-thecraftyrobin.blogspot.com

Build up the layers using light brown, and if needed a little more of the other two colours until you are happy with your background.

https://elizabethr-thecraftyrobin.blogspot.com

Stencil the tree branches, script and the moon using a mix of light brown paint with a little black gesso added to darken it up.

https://elizabethr-thecraftyrobin.blogspot.com

Create splatters with a mix of white gesso and orange paint.

https://elizabethr-thecraftyrobin.blogspot.com

Making sure the light orange splatters are dry, go back over and add splatters of diluted gold wax to create a sky full of stars.

https://elizabethr-thecraftyrobin.blogspot.com

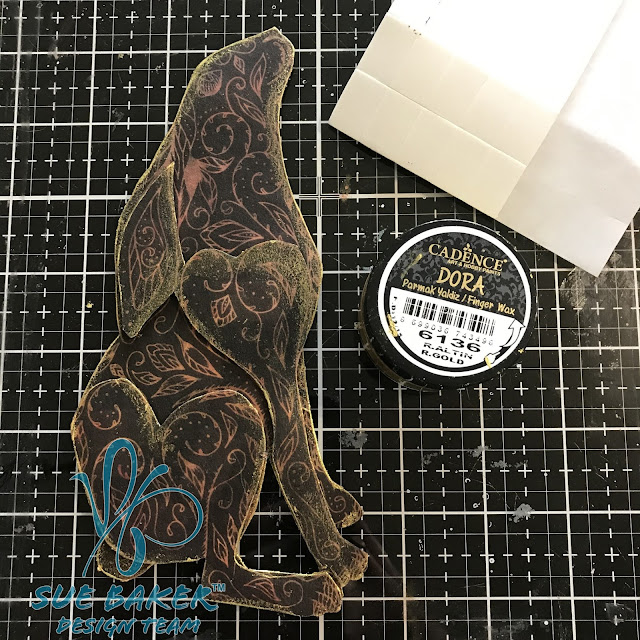
Adhere two Hare images to a scrap of acrylic packaging using the fabric decoupage glue, and leave to dry.

https://elizabethr-thecraftyrobin.blogspot.com

Once dry carefully cut out and decoupage the layers. Add a fine layer of gold wax to the edges to create a more defined edge.

https://elizabethr-thecraftyrobin.blogspot.com

Adhere the Hare to the canvas using raised foam pads.

https://elizabethr-thecraftyrobin.blogspot.com

Happy Crafting
Elizabeth x


Imagination Crafts USB2 - Divine


https://elizabethr-thecraftyrobin.blogspot.com/2020/08/imagination-crafts-usb2-divine.html

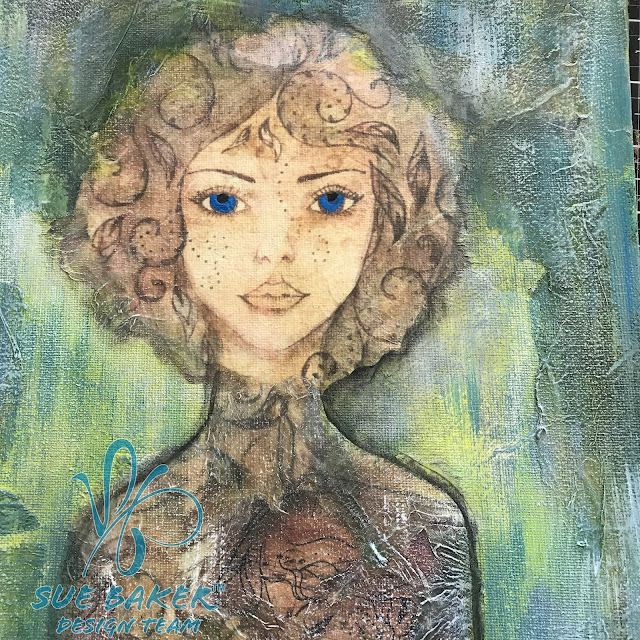
Print out one sheet of the rice paper and using a wet paintbrush take out the girls head.

https://elizabethr-thecraftyrobin.blogspot.com/2020/08/imagination-crafts-usb2-divine.html

Adhere it to your canvas quite near to the top.

https://elizabethr-thecraftyrobin.blogspot.com/2020/08/imagination-crafts-usb2-divine.html

Using a pencil take the lines down from the neck and create shoulders and a basic body shape.

https://elizabethr-thecraftyrobin.blogspot.com/2020/08/imagination-crafts-usb2-divine.html

Decoupage the body using the paler shades of browns from the left-over rice paper.

https://elizabethr-thecraftyrobin.blogspot.com/2020/08/imagination-crafts-usb2-divine.html

Create a border around the edge of the canvas using the darker pieces of the left-over rice paper.

https://elizabethr-thecraftyrobin.blogspot.com/2020/08/imagination-crafts-usb2-divine.html

Dry brush the entire canvas using white gesso. Make sure the canvas is dry and start building the backgound colour, using pistachio green, royal blue and delano. Dry and knock back with a light dry brushing of white gesso.

https://elizabethr-thecraftyrobin.blogspot.com/2020/08/imagination-crafts-usb2-divine.html

Add shading to the image using dilute black gesso, making sure it's well blended into the background, so there are no harsh lines.

https://elizabethr-thecraftyrobin.blogspot.com/2020/08/imagination-crafts-usb2-divine.html

Add stencilling using black gesso and define the eyes, cheeks and lips using and combination of paints and paint pens.

https://elizabethr-thecraftyrobin.blogspot.com/2020/08/imagination-crafts-usb2-divine.html

Happy Crafting.
Elizabeth x
Imagination Crafts USB 2 - Natures Creation


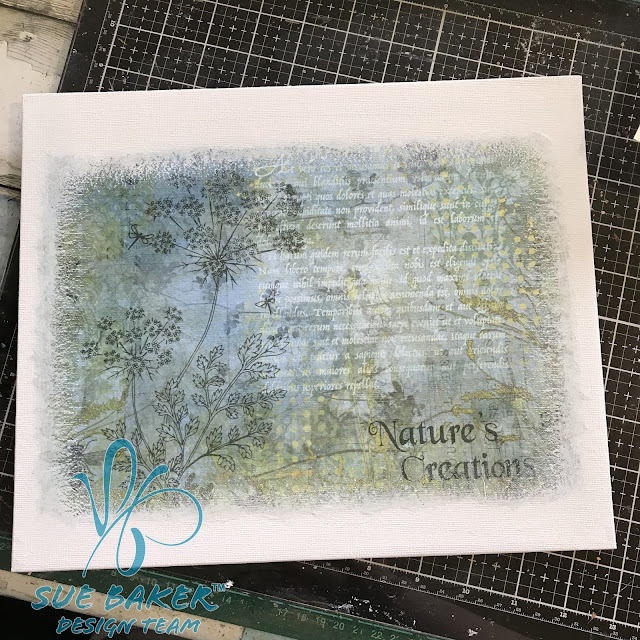
Print out the Natures Creation paper from USB2 and with a damp paintbrush wet the edges of the paper and gently tear away the edge.

https://elizabethr-thecraftyrobin.blogspot.com/2020/08/imagination-crafts-usb-2-natures.html

Adhere to the centre of the canvas and dry. Once cool dry brush around the edges with white gesso.

https://elizabethr-thecraftyrobin.blogspot.com/2020/08/imagination-crafts-usb-2-natures.html

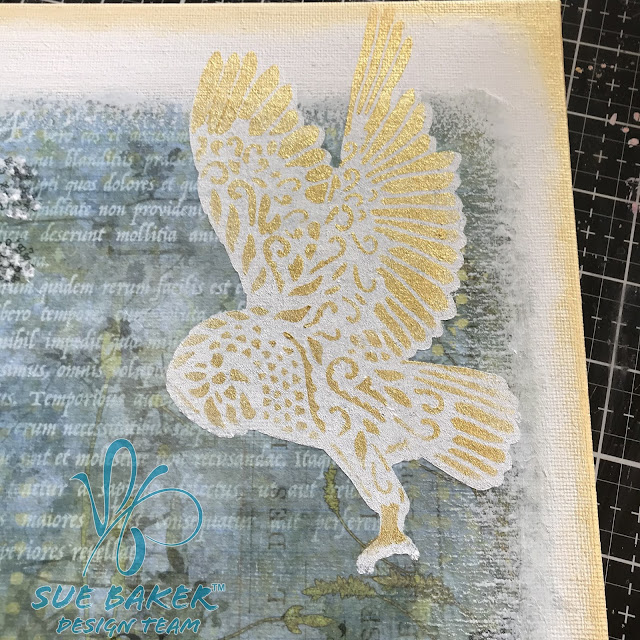
Using the Owl and Butterfly stencil from the Destiny collection, stipple the base layer using white gesso and dry.

https://elizabethr-thecraftyrobin.blogspot.com/2020/08/imagination-crafts-usb-2-natures.html

Paint in the flowers and foliage using diluted white gesso.

https://elizabethr-thecraftyrobin.blogspot.com/2020/08/imagination-crafts-usb-2-natures.html

Using the 2nd layer stencil, stipple through using gold wax, before cleaning the remaining wax from the brush around the edge of the canvas to create a border.

https://elizabethr-thecraftyrobin.blogspot.com/2020/08/imagination-crafts-usb-2-natures.html

Happy Crafting.
Elizabeth x